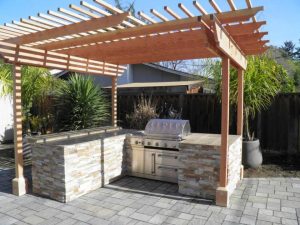
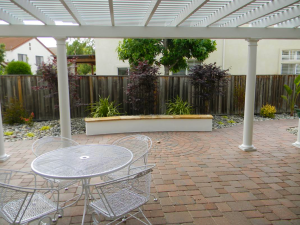
Most paver patios are built upon solid bases capable of supporting the additional weight of built-in features. Fire pits can be gas or wood and require safe clearances around buildings and landscaping. Seating walls require stable footings and good drainage for long life. Most people select stone or brick to complement pavers. Before you begin, review local codes and ordinances regarding open fires and structural modifications. To keep a clean appearance, account for electrical lines and water drainage. These pointers contribute style and coziness to your outdoor spaces. The meat will decompose at each step, and crucial selection follows.
Key Takeaways
- Start by reviewing local codes and making sure to get permits, so your fire pit or seating wall installation is compliant and legit.
- Well-considered feature placement and precise measurement will help you maximize both the functionality and aesthetic cohesion of your paver patio.
- Choose materials that are durable, heat-resistant, and weather-appropriate to ensure the longest life and safest use for your patio additions.
- Get your patio foundation square and stable to avoid any future structural issues.
- Make safety your priority — heat, safe clearances, fire pit operation, and smoke control education.
- Increase the value and comfort of your patio by combining lighting, storage, and greenery to make it more inviting and functional for getting together.
Planning Your Patio Additions
Planning a fire pit or seating wall for your paver patio requires thoughtful consideration. It means obeying local regs, choosing the optimal location, scaling your features, making a budget, and tying the design together so it functions and looks cohesive.
Local Codes
Local codes are important. Each location has its regulations regarding fire pits and seating walls. A few locations require permits before construction. If you bypass this step, you could be slapped with fines or forced to remove what you constructed. Zoning laws can restrict how near a fire pit can be to your dwelling, often 4.5–7.5 meters (15–25 feet) from homes, vehicles, or fencing. If anything’s fuzzy, consult your city office or building inspector.
Feature Placement
Location, location, location – it’s critical to planning your fire pit or wall. Place the fire pit where it provides warmth and a beautiful glow, but won’t waft smoke into your neighbor’s yard! It should be near your seating, but not so near that it’s crowded or potentially dangerous. Allow for a minimum of 6 feet around your fire pit so folks can walk and stretch. Wind patterns matter—position the fire pit on the patio side where smoke is least apt to annoy your guests.
Size & Scale
Know your patio measurements. A medium fire pit demands a circle of approximately 4.5 meters (15 feet) in diameter. Don’t over- or undersize your features for your space. Leave enough room for walking, side tables, or additional chairs. Try drawing out your design or using basic visualization tools to visualize it before construction. Add cushions or a few potted plants for that cozy, lived-in feel.
Budgeting
List the prices for pavers, fire pit kits, sand for drainage, and labor. Compare prices at more than one store. Save a little of your budget for surprises. Select your must-have additions first, such as the fire pit itself or additional seating, then top off your patio with pillows or side tables if your budget allows.
Design Synergy
Choose a fire pit that fits your patio style! Please use the same stone or paver colors for the wall and pit. Tune the style to your home’s vibe, be it modern or traditional. Add easy touches like potted flowers or a couple of throws to complete the look.
Choosing Your Materials
Choosing your materials is half the battle to making any fire pit or seating wall addition to a paver patio a winner. Selecting your materials — doing your research, considering durability, nailing the look and feel for your space — are the basics of any well-done outdoor upgrade.
Material Harmony
Select pavers that complement your fire pit’s color and texture. We want the patio, fire pit, and seating wall to look like they go together.
Nothing adds appeal like mixing up your materials. For instance, combining natural stone with concrete pavers balances old and new. Do this to circumvent visual tedium and maintain a concise palette. Too many will compete.
All of your materials have to be outdoor-quality. Stone, brick, and concrete are the usual suspects. Just be sure that they’re finished lining up for a cohesive impact throughout the entire patio.
Heat Resistance
Choose Your Materials – Fire pits get hot, so use materials that hold up under high heat. Natural stone and brick are timeless options. Concrete pavers are heat-rated.
Certain pavers can crack or warp with fire. Seek out heat-resistant products. If you’re planning to have a seating wall near the fire pit, be sure it’s constructed out of fireproof blocks or caps. Try a little spot before committing to see if it deals with heat the way you think it does.
Weather Durability
Outdoor spaces must endure sun, rain, and cold. Select materials that are fade-resistant, crack-resistant, and wear-resistant. Treated wood or composites are more durable but require more maintenance. Maintenance issues—stone and concrete tend to require less maintenance than wood. See what’s in store with each material so you know what you’re in for.
Select pavers designed for exterior applications, particularly if you reside in a region with heavy rain or snow.
Cost-Effectiveness
Prices differ. Natural stone is usually more expensive than concrete pavers. So, our manufactured alternatives aren’t necessarily cheap-looking or lacking in durability. Conversely, installing a base of compacted gravel and using polymeric sand between your pavers can be both cost-effective and increase stability. Sometimes, design decisions based on minimalism can help you get the most bang for your buck.
Preparing Your Paver Patio
Begin by clearing the area of all plants, roots, and rocks. Spray paint or string out the location of your patio. Measure, measure, so you know where your fire pit or seating wall is going to fit. This step spares you headaches down the road. Shovel off the surface and dig 8–10 inches deep for sufficient base space.
Building On Top
Test your paver patio’s flatness with a 4-foot level. If not, make it right today! Even ground ensures your fire pit or wall sits properly and will not tip.
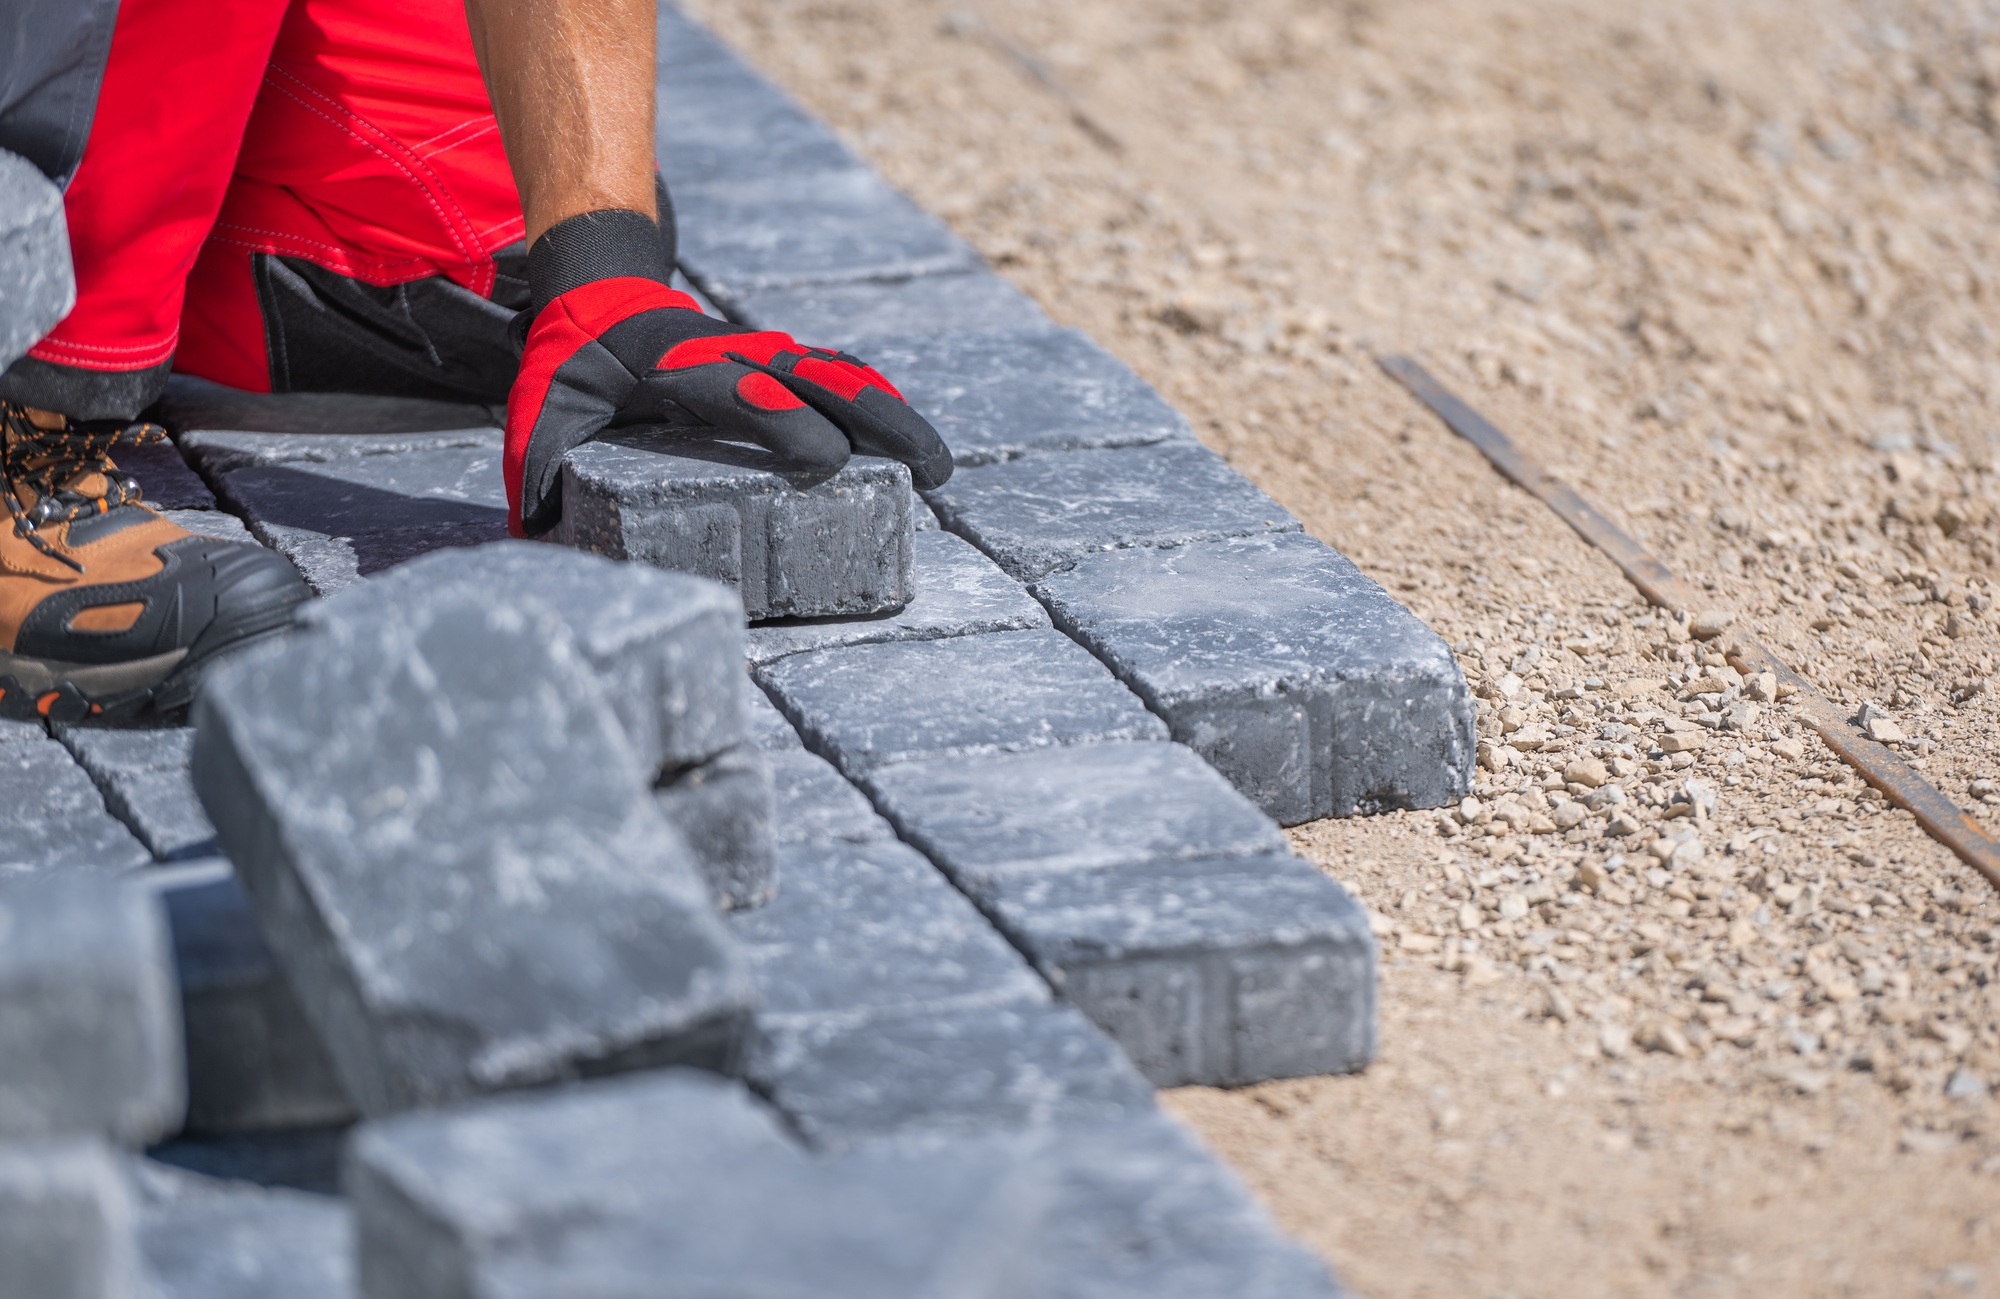
A solid foundation counts. Place 7cm of gravel for drainage and strength. Give it a good compaction, so nothing shifts down the road. If you include features, layer materials. Gravel, then a 5 – 8 cm paver base. This holds it all in place and is nice and tidy. Follow the manufacturer’s steps when installing anything on top of pavers to prevent damage or loose stones.
Cutting In
The easy way to cut pavers around your fire pit – with a wet saw or angle grinder. Think out each cut ahead of time so you don’t end up wasting pavers or with strange gaps. Shield yourself with a dust mask and goggles, as tiny gravel and dust will fly up. For awkward shapes, create a cardboard template. Place it on the pavers and you can cut and trace perfectly, the first time.
Foundation Check
Check the base by pressing on the primary areas. If it shifts, put in more gravel or compact again. Water is your foe—get that base dry before you start constructing on it.
Check for hollows or bumps. Smooth them with a trowel. Compact the base again to make sure it stays put. Begin work only once the ground is firm beneath your feet.
Marking Dimensions
Mark the perimeter for your fire pit and seating wall using string or chalk. Verify with a tape measure. Ensure there is ample room to walk around. Wiggle if necessary.

The Construction Process
Just as adding a fire pit or seating wall to your paver patio requires careful planning, the proper tools, and methodical construction. Every step–from priming the foundation to finishing touches–demands patience, diligence, and measuring advancement to secure excellence.
Wall Foundation
Begin with a trench for the seating wall base. Carefully measure and mark the area with a string and a stake. A 24-foot diameter is well suited for a fire pit and seating wall, but can be adjusted to accommodate the space. Excavate the trench deep enough to leave room for at minimum 10cm (4 inches) of gravel as the bottom layer. The gravel stabilizes the wall and prevents shifting.
Once the gravel is in, compact it well. Skipping the compaction risks uneven settling later on. Set concrete blocks or natural stones on the compacted gravel, leveling each as you go. No rush–one builder confessed it was ‘the single most meticulous, tedious, maddening and back-breaking thing I have done in years.’ This pounding effort, with the corresponding pounding of stakes into the earth, pays off with a sturdy foundation. Allow the base to cure before layering and sand filling, working it in with a broom.
Fire Pit Assembly
Construct the fire pit in your desired configuration. A lot of builders like to go with alternating patterns… like trapezoid + mini blocks, stacking 4 layers high for extra elevation. Attach with a heat-resistant glue or mortar and leave a little holes of space between blocks for air flow.
Proper ventilation is important for both the safety of the fire and how well the flame burns. Test stability by pressing on the sides before placement. Around a seating area, 80 feet of landscape edging can maintain the shape nicely and neatly. Record each stage for your reference and future modifications.
Feature Integration
Connect the new features to your patio with coordinating or complementary pavers. This integrates the fire pit and seating wall, instead of making it look tacked-on. Decorative touches—such as colored stones or lighting—create a cohesive appearance.
Secure everything in easy reach and use. Incorporate sand between stones for a completed, solid footing. Periodically step back and look at the space as a whole, checking for function and flow.
Critical Safety Considerations
Few things make paver patios more inviting than a fire pit or seating wall, and few things make them more dangerous. Starting with safety in mind safeguards more than just your property; it keeps friends and family safe as well.
Heat Management
The fire pit should always sit away from flammable objects. Homes, fences, trees, and shrubs require clean space—maintain a minimum of 3 metres (10 feet), but strive for up to 6 metres (20 feet) where possible. Clear the ground of leaves or branches as well, sparks can leap farther than you might think. Position chairs a minimum of a meter (3 feet) from the flames so as to prevent burns and allow people to maneuver.
Employ heat-resistant barriers, like fire bricks or paver stones, between the fire pit and pavers. These assist in protecting the patio surface and preventing the area from cracking or discoloration under intense heat. Keep watch over the fire, and never overburden it. This prevents sudden flare-ups and helps contain flames. Periodically, check to see if there’s any heat damage, cracked or faded patio, and burned marks on chairs.
Smoke Control
Select a fire pit style that reduces smoke. A few inserts have double walls or venting to combust wood more cleanly, which makes evenings more enjoyable, particularly for those nearby. Locate the fire pit so smoke will blow away from chairs and doors, keeping the air fresh and inviting for guests. Think about the prevailing winds in your area when planning the arrangement. Smokeless fire pits are an excellent choice for urban balconies or tight spaces, delivering warmth sans smoke.
Get the word out about smoke control, like burning dry, seasoned wood and not trash or wet branches. Have a small shovel handy to move logs and maintain a clean burn. For group seating, warn guests to switch seats if the wind changes.
Safe Clearances
Safe spacing is about more than just comfort—it can be a lifesaver. Maintain a minimum 3-meter distance between the fire pit and any building, fence, or tree. Certain local regulations might call for even more. Seating walls, chairs, and tables cannot obstruct aisles or exits. Design the venue in a way that allows people to exit rapidly should it be necessary.
Measure clearances when integrating new patio features. Even small alterations can impact egress paths. Check local fire codes for minimum distances and refresh the setup accordingly.
Inspection And Maintenance
Periodic reviews are crucial. Check for rust, loose stones, or broken parts — particularly on metal fire pits — after rain or snow. Keep them inside or coat them with heat-proof paint to prevent rust. Winterize with covers and clear up the yard to avoid damage.
Maintain visibility—whether it’s LEDs on a bike or lanterns/pathway lights to help everyone see at night.
Enhancing Your Patio Features
Smart upgrades will make your paver patio more stylish, comfy, and functional. Recessed lighting, built-in storage, planting pockets, and decorative details all contribute to crafting a space that’s warm and functional.
Integrated Lighting
Install lights to highlight your fire pit and seating wall. Not only does this increase safety should you step outside at night, but it also accentuates the area for entertaining.
For the energy-conscious, easy set-up, solar lights are a top selection. You place them wherever you want, no wires, and they harness the sun to operate. Choose fixtures that are adjustable so you can change the mood as necessary. Certain dimmable models do wonders for both quiet evenings and raucous parties. Position lights along paths and seating areas so nobody trips and everyone knows where they’re going. With the right lighting, your patio can work for you well into the night.
Built-In Storage
Tie in the storage with the rest of your patio by using the same brick or stone. This keeps it all nice and tidy and coordinated.
Select durable materials that can withstand sun, rain, and wind. Stash items such as seat pads, throw blankets, or firewood inside these secret pockets. It de-clutters the space and saves you time when you want to unwind. Just be sure the storage is convenient but not obtrusive or disruptive to the laid-back look of your patio.
Planting Pockets
Build little pockets for plants surrounding your fire pit or seating wall. Choose tough, low-maintenance plants that are appropriate for your local climate. They introduce color, temper the harsh edges of stone, and attract attention.
Cover the exposed dirt with decorative rock or mulch to make the whole area look neat and polished. Consider the seasonal changes of your plants. Plant evergreens or supplement with bulbs for spring color. This keeps the patio vibrant year-round. With good planning, your space remains fresh and bright throughout any month.
Decorative Elements
Use a capstone on a seating wall for a polished appearance. Select the trends or hues that suit you.
Permeable seating walls with gravel or rocks allow rain to soak in, not pool up. Most seating walls are approximately 50cm high; however, a few have incorporated backrests.
A sturdy foundation—such as compacted gravel—helps features stay put over the long term.
Conclusion
Choose sturdy, weather-resistant blocks or bricks. Make your base level solid. Simple shapes are easy to work with and maintain. Little bits of change — a bench here, a bowl fire pit there — do well in most yards. As always, safety first — keep things spaced out and use heat blocks if you add a fire pit. A quality installation results in fewer repairs down the road. Your new patio spot can unite the family and transform your outdoor space into a home! Need more tips or real-life stories? Leave a comment or visit the blog for more guides.
Frequently Asked Questions
1. Can I Add A Fire Pit To My Existing Paver Patio?
Be sure your patio base is solid, observe local fire codes, and use heat-resistant materials to be safe.
2. Do I Need Special Permits To Install A Fire Pit Or Seating Wall?
Whether or not you need a permit depends on your local requirements. Verify with your local authorities prior to beginning to be certain it adheres to safety and zoning laws.
3. What Materials Work Best For Fire Pits And Seating Walls On Paver Patios?
Choose non-combustible, long-lasting materials such as concrete, natural stone, or fire-rated bricks. These materials stand up to heat and the elements.
4. Will Adding A Fire Pit Damage My Pavers?
As long as you install your fire pit with a protective base and heat barrier, it won’t harm your pavers. Be sure to adhere to best installation practices.
5. Can I Build A Seating Wall Myself, Or Should I Hire A Professional?
While DIY is doable for the experienced, we recommend hiring a pro to guarantee structural integrity and code compliance, especially for larger projects.
6. How Do I Maintain My Fire Pit And Seating Wall?
Maintaining brick or concrete will involve regularly cleaning, clearing debris, and inspecting for cracks or loose stones. Use covers for weather protection and follow the manufacturer’s care instructions.
7. How Far Should A Fire Pit Be From My Home Or Other Structures?
Sit your fire pit at least 3 meters away from your home, fences, or trees. This reduces the risk of fires and complies with the majority of safety recommendations.
Make Your Patio A True Outdoor Retreat—Ask Us How
Ready to turn your patio into the perfect gathering place for friends and family? Whether you’re dreaming of a cozy fire pit, a stylish seating wall, or both, the experts at DPG Pavers can help you plan and build with precision, style, and safety in mind. From selecting durable materials to ensuring proper drainage and safe clearances, we make sure your paver patio not only looks incredible but functions beautifully for years to come. Let us help you transform your outdoor space into a warm, inviting retreat that reflects your lifestyle. Contact us today to get started with a free consultation!
Disclaimer: This article is for informational purposes only and does not constitute professional advice. Always consult with a licensed and insured paving contractor before starting any driveway project. Requirements may vary depending on local regulations and site conditions.


